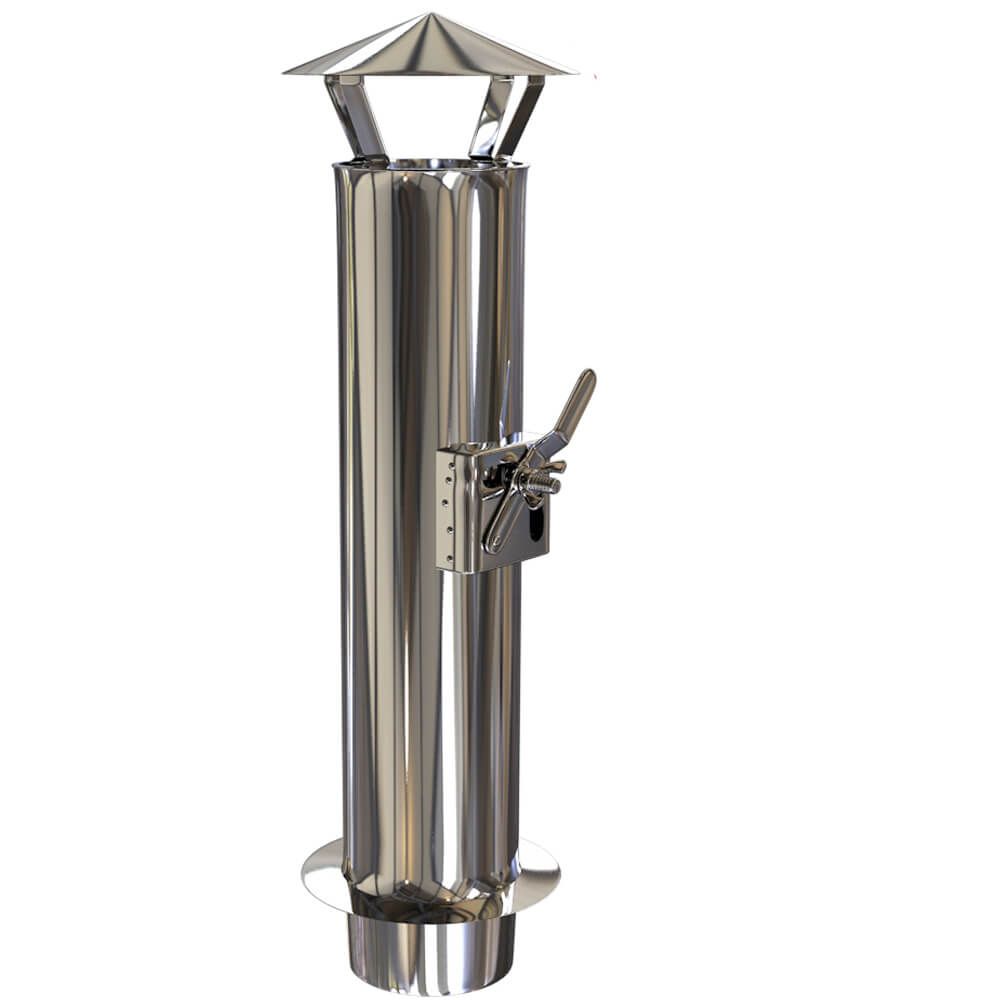
After cold weather, inspect the accessible flue components in a timber cabin, particularly wall and roof penetrations. Look for moisture, corrosion and movement. Work with the appliance cold, and avoid dismantling parts unless you can confirm their refitting procedure from the system documentation.
Inspect flue joints and their surroundings
Record new water marks, dust at connections or changes in bracket position. Check whether timber, insulation or furnishings have been added around the flue and altered the required clearances.
In a timber building, the whole penetration detail matters: flue type, insulation, fixing and separation from combustible materials. The thickness of an additional board alone does not establish a safe clearance.
Check the system before wrapping a flue pipe
An extra blanket or shield can change the flue's cooling conditions. Its use must be permitted for the particular installation. A warm outer surface is not sufficient reason to add an improvised insulation layer.
Do not fill designed air gaps or openings with an arbitrary compound. If the installed flue type is unknown, collect its markings, photographs and instructions, then discuss the arrangement with the installer.
Flue cement has a defined application
Vitcas Flue Cement is intended for compatible connections between clay or concrete flue components. That does not mean it should seal every joint in a steel flue pipe. A metal system may require its own joining method and sealing components.
Investigate signs of leakage, recurring moisture or loose fixings before using the appliance again. A chimney inspection also covers locations that cannot be seen from the room. These accessible checks help document the condition for a professional inspection, whose scope extends beyond a visual check indoors.